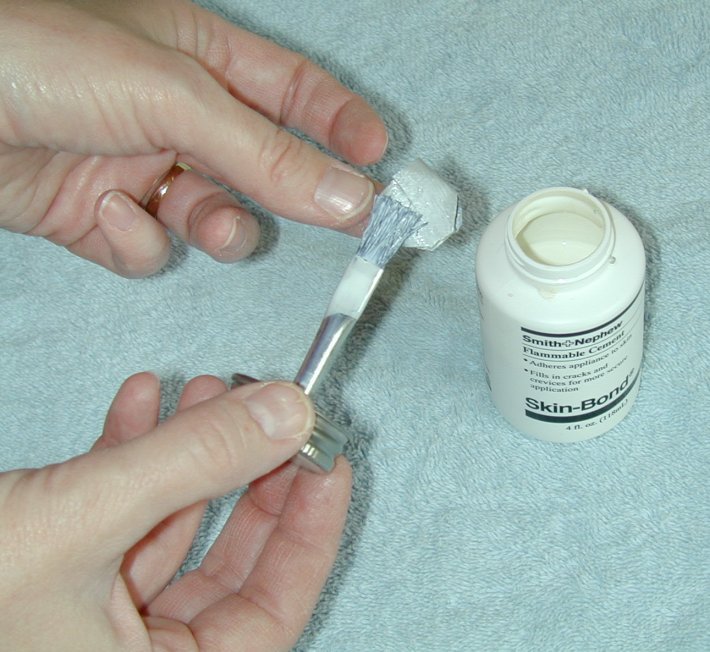
| Step 10: Apply adhesive to both sides of the duct tape patches. Set these aside. The adhesive will get tacky while you complete the next steps. Apply adhesive to both sides of the duct tape patches. Set these aside. The adhesive will get tacky while you complete the next steps. | | 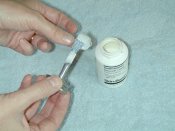 | |
| | | |
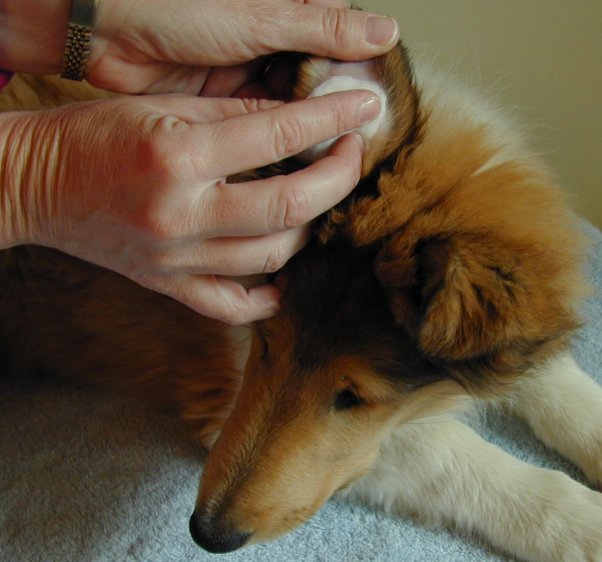
| Step 11:Clean the inside of the puppy's ear with adhesive remover on a cotton ball. Be careful not to let liquid run down inside the ear canal. Have the puppy on a grooming table or have a helper hold him on her lap. | | 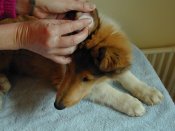 | |
| | | |
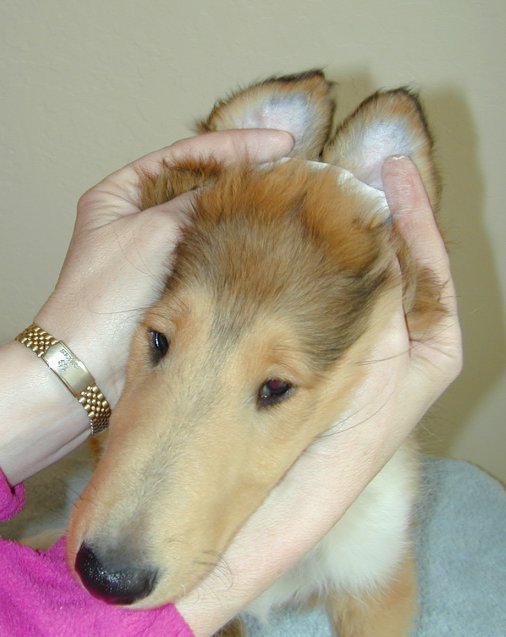
| Step 12:Peel all the paper backing off of the crossbrace and apply adhesive to the sticky side of the dots only. Do not put adhesive on the narrow horizontal part of the brace. Let it get tacky for a few seconds.
This is the trickiest part. Facing the puppy, stick each end of the crossbrace to the inside of the puppy's ear. The top edge of the brace should be slightly less than 1/4 inch below where you want the ear to actually fold. Since the ear itself has thickness, it is important to leave a little room for it to fold. The photo shows the brace correctly aligned in the puppy's ears. Notice how the inside edges of the ears are actually touching each other. Over time, the moleskin will stretch a little, so this won't be so tight and the ears won't be tipping inward at each other.
If you don't get the brace perfectly aligned on the first try, you'll have just a few seconds to slide the brace into the right position before the adhesive adheres. | |  | |
| | | |
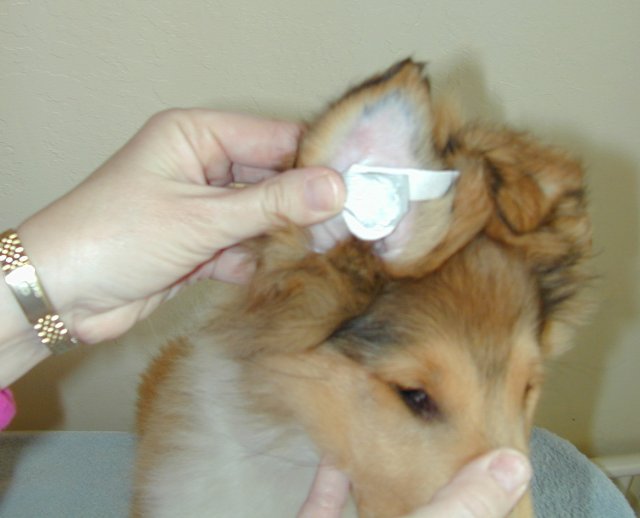
| Step 13:Take one of the duct tape patches that you have trimmed and coated with adhesive. Place it, pointed end down, with the seam side of the patch against the moleskin. The photo shows the patch in place on the puppy's right ear. The camera flash has reflected somewhat off of the very white adhesive, but you can still see the position of the patch. Bring the tip of the ear over, aligning it to the outside very slightly (one or two degrees) and stick it to the brace/duct tape apparatus. The fold will be just barely at the upper edge of the brace - not too tight! | | 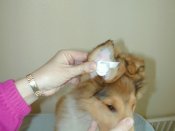 | |
| | | |
| Step 14:This is how the ear looks folded and taped into place. The puppy's right ear has been done; the left ear has not yet.
Tape the other ear in place just like the first one. Afterward, check to be sure no stray ear hairs are caught in the tape. Even one hair pulling will cause the puppy to scratch at his ears and he will try to pull out of all your handiwork. | | 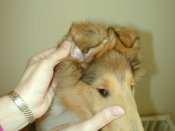 | |
| | | |
| Step 15:Both ears are taped. Notice how the crossbrace is not visible. This is part of the beauty of this method. The less that shows from the outside, the less that puppy littermates will feel compelled to lick and chew on each other's ear braces!
The 12-week-old male puppy who served as our model in the photos is comfortable in his ear braces and does not try to pull them out. | |  | |