| There are a number of different ways to "train" collie puppies' ears to have the correct position and carriage as adult dogs. We have tried several different methods during our over 25-year involvement with the breed. The method described and illustrated below is the one we currently use and is the one with which we have had the best results. We tape and cross-brace our collie puppies' ears beginning at age 7-1/2 weeks and keep them taped as long as we feel it is necessary. Usually this is until at least age 4-1/2 months, but it can be considerably longer. The cross-bracing period varies from puppy to puppy, although puppies from the same litter usually have similar requirements.
Taping and bracing a collie puppy's ears does two things. First, taping the ear over helps keep its natural "break" (the place where the ear bends forward) flexible so that the ear cartilage does not become straight and stiff. Secondly, cross-bracing or connecting the ears together encourages the puppy to hold his ears high on top of his head. He will use the muscles on top of his head to pull his ears together to take the tension off of the brace. This strengthens these muscles and increases the likelihood that he will carry his ears properly as an adult.
Below are step-by-step instructions with accompanying photos. Click on each small photo to see a more detailed enlargement. Use your browser's "Back" button to return to the text instructions. | |
 | | |
| Step 1:You will need to obtain the following materials, most of which can be found on Amazon.com or, our favorite site, the Triumph Sheltie Ear Solutions Page:
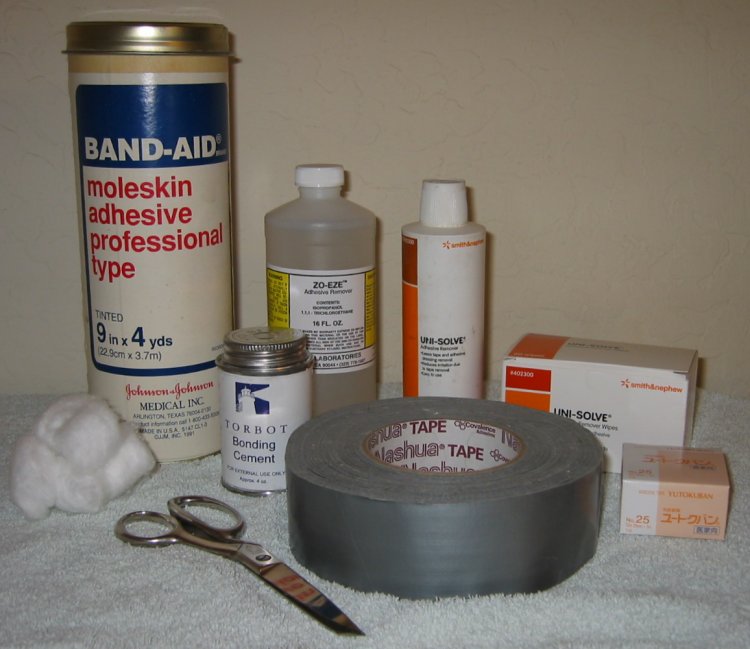
- Moleskin. Suitable brands are Johnson & Johnson (Band-Aid) or Dr. Scholl's. It is most economical to purchase moleskin in 12" wide rolls as opposed to small, pre-cut sheets. You can purchase the Johnson & Johnson or similar brands in rolls. Small, pre-packaged sheets of Dr. Scholl's brand "Moleskin Plus" can be found in most drugstores.
- Tape.We use Nashua brand duct tape because it is economical and always sticks better than other brands. Available at independent hardware and tool supply stores, we buy the 2" x 60-yard roll. Don't bother with other duct tapes. We have tried them all and none stick like Nashua!
For really tough adhesion problems, we use the Japanese Surgical Tape - often referred to as "Sheltie Tape" because it is widely used by Sheltie breeders. The Japanese tape is more expensive than duct tape, but often it will stick when nothing else will.
- Adhesive Remover.We use Unisolve or Detachol to remove the ear tapes and braces and to disolve the adhesive. We follow up with Zo-Eze solvent to completely clean the ear leather prior to taping. Zo-Eze works effectively to remove the excess oils from the ear, yet at the same time it does not seem to irritate the puppy's skin. Other adhesive removers can be used, such as ether (available through medical supply companies) in an aerosol spray. Ether must be used with extreme caution as the vapors are highly flammable!
- Surgical Adhesive.For many years our product of choice was Skin Bond by Smith & Nephew, Inc. It was a hypo-allergenic adhesive made to hold surgical bandages in place. We used it to help the ear braces stick even better so they do not have to be re-done as often. Since Skin Bond was discontinued by the manufacturer, Torbot is now used in its place. A similiar medical-grade adhesive, it is nearly as effective as Skin Bond was.
- Cosmetic Puffs or Cotton Balls.The plain drugstore variety is fine.
- Household Scissors.A sturdy pair of scissors is needed for cutting the moleskin and the duct tape to size.
| |  | |
| | | |
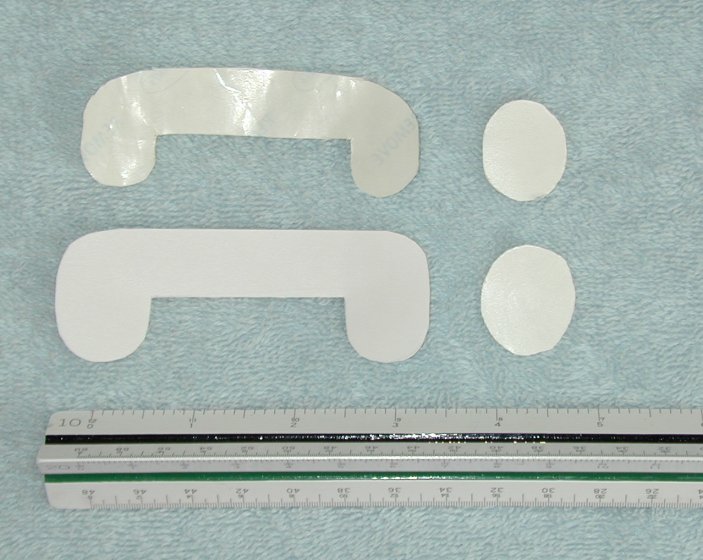
| Step 2:Create the pattern for the brace out of paper or light cardboard. The crossbrace piece is shaped roughly like a shallow inverted "U" and the "dots" that anchor to the base of the ear are oval-shaped. The size of these pieces will increase proportionally as the puppy grows larger. For a 7-1/2 week old puppy, the crossbrace should measure about 3-1/2 inches across and the dots should be about 3/4-inch ovals. The photo shows two sets of patterns. The upper pattern is for a young puppy; the lower pattern is for about a 10 to 12 week old puppy. | | 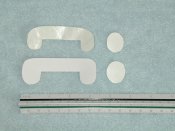 | |
| | | |
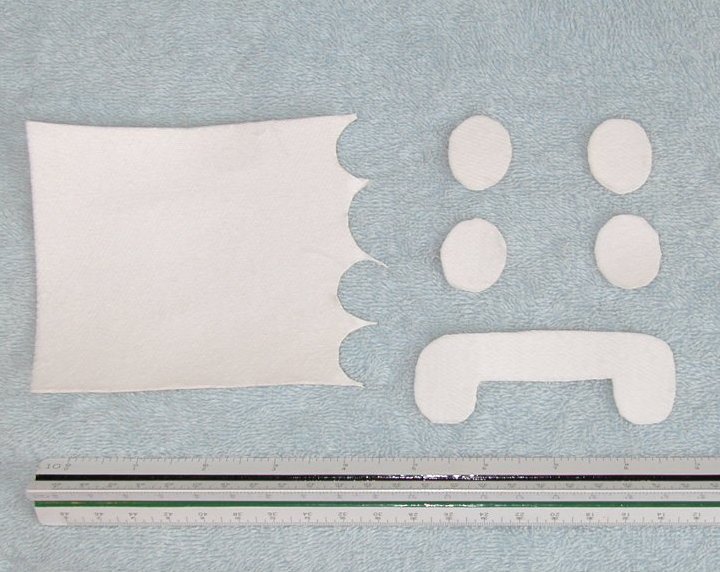
| Step 3:Using the patterns, cut out one crossbrace and four dots from the moleskin. | | 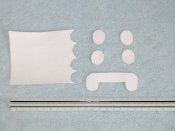 | |
| | | |
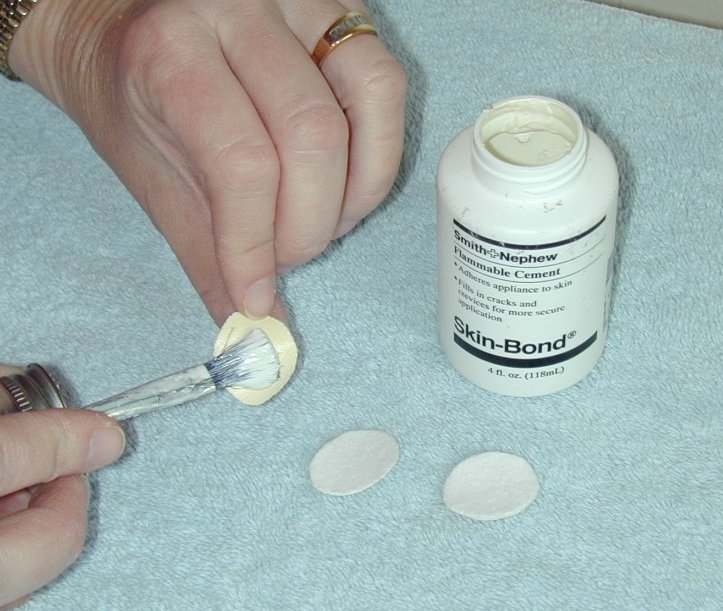
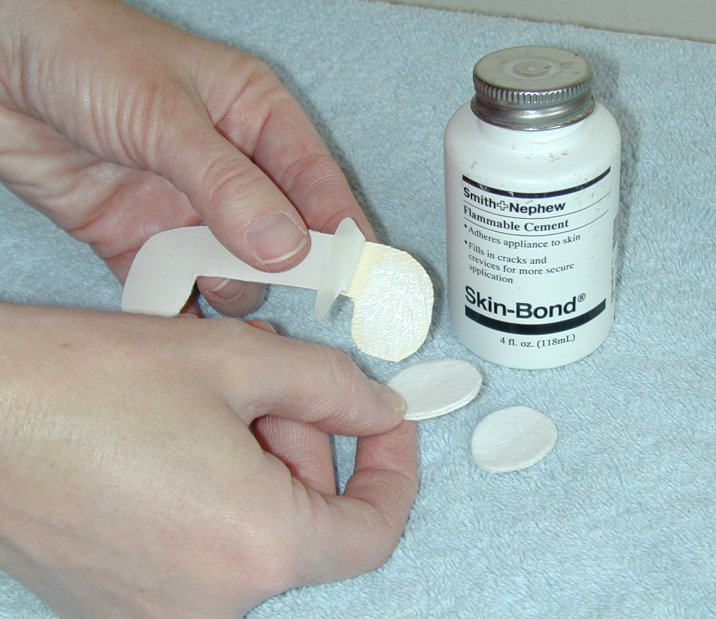
| Step 4:Peel the backing from one of the moleskin dots, apply adhesive to the sticky side, then glue it to the fuzzy side of another dot. You will end up with two moleskin dot "sandwiches" - the top side will be the fuzzy side; the bottom will be the side with the peel-off backing. The fuzzy side will always be the "top" (facing up) as you build these two dot sandwiches.
Hint: Be sure to shake the bottle of adhesive well before applying it. After brushing it on, allow it to become slightly tacky (wait about a minute) prior to pressing the glued surfaces together. | | 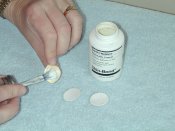 | |
| | | |
| Step 5:Peel the backing away from the ends of the crossbrace, but do not completely remove the entire backing. Fold it away from the short ends of the crossbrace and trim it off at the fold, leaving the adhesive exposed only on the ends of the crossbrace. Apply adhesive to the these sticky areas, then glue the fuzzy side of the dot sandwiches to them. | | 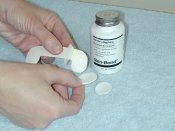 | |