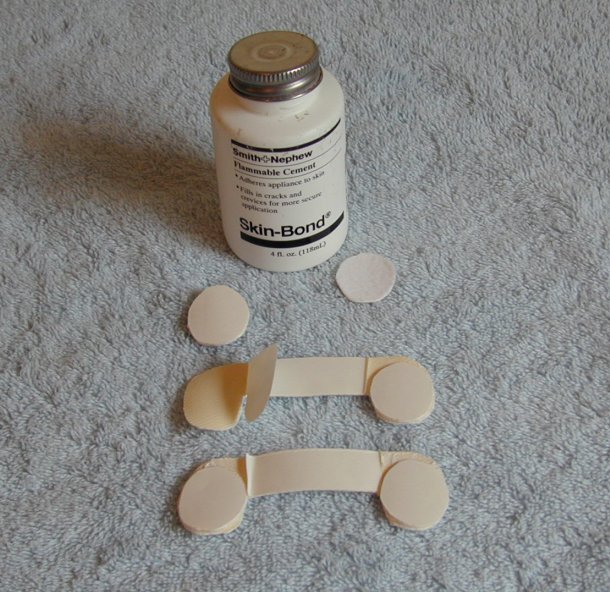
| Step 6: The photo shows the back side of the brace - that is, the side which will be attached to the inside of the puppy's ears. The brace at the bottom of the photo is completely assembled. It consists of two dot sandwiches glued to the non-fuzzy side of the crossbrace. The paper backing is left on the brace until just before it is applied to the puppy's ears. The photo shows the back side of the brace - that is, the side which will be attached to the inside of the puppy's ears. The brace at the bottom of the photo is completely assembled. It consists of two dot sandwiches glued to the non-fuzzy side of the crossbrace. The paper backing is left on the brace until just before it is applied to the puppy's ears. | |  | |
| | | |
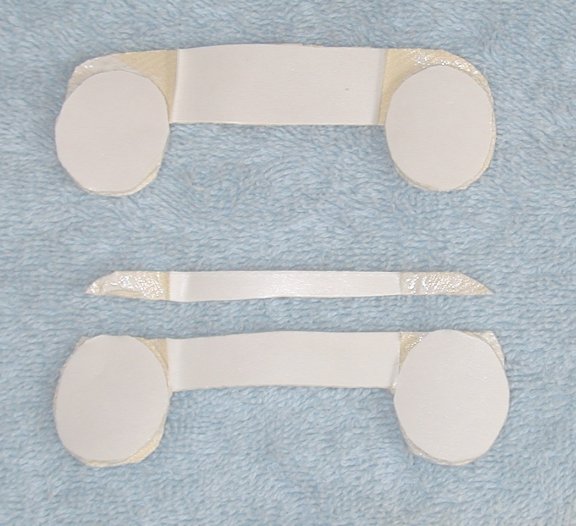
| Step 7:The photo in Step 7 shows also shows a completely assembled brace, plus an additional step that we take when bracing very young puppies' ears. With scissors, we trim across the entire length of the brace, making it a little shorter. Trimming in such a way allows the brace to fit more comfortably on tiny ears.
Again, the photo shows the back side of the brace, with the two dots glued in position. The paper backing is still left on. | |  | |
| | | |
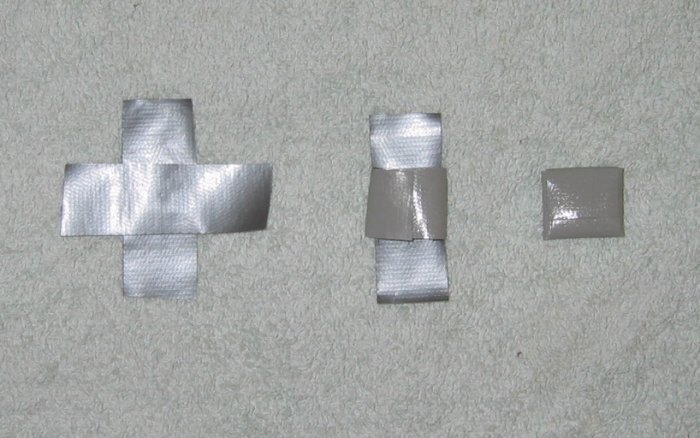
| Step 8:Next, we cut two strips of duct tape and on one strip, stick each end to itself, forming a loop. The sticky side of the tape is on the outside of the loop. The second strip is wrapped around the loop, also sticky side out, but oriented at 90 degrees to the first loop - like a cross. The result is a flat sticky "patch" - will be slightly smaller than the dots on the crossbrace. You will need to make two of these patches - one for each ear. | |  | |
| | | |
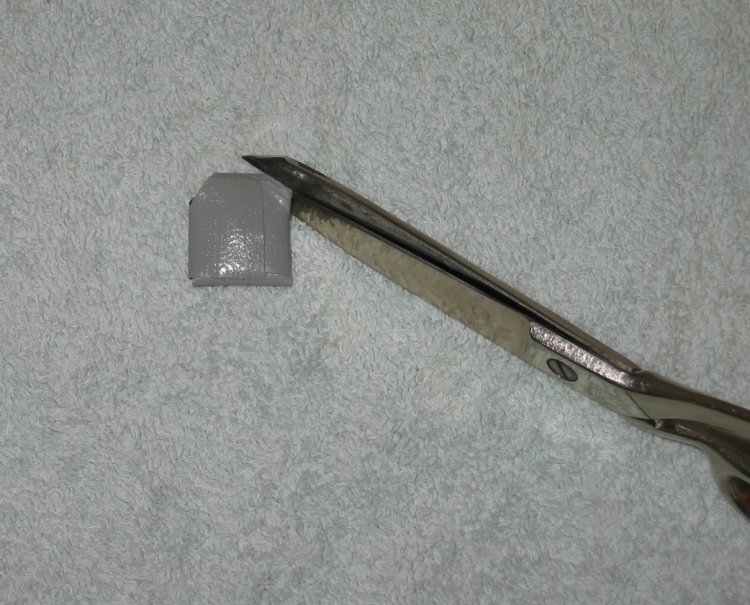
| Step 9:Trim the corners of one edge of each duct tape patch. This trimmed side will eventually point toward the tip of each ear. We trim the corners so that the edge of the tape approximately follows the hairline along the inside tip of the ear. We want most of the adhesive to stick to skin, not to hair. Your finished patch should somewhat resemble a baseball "home plate" - slightly pointed at one end and flat across the bottom. | |  | |
| | | |